📃Manual Steps
Manual steps to prepare Pi
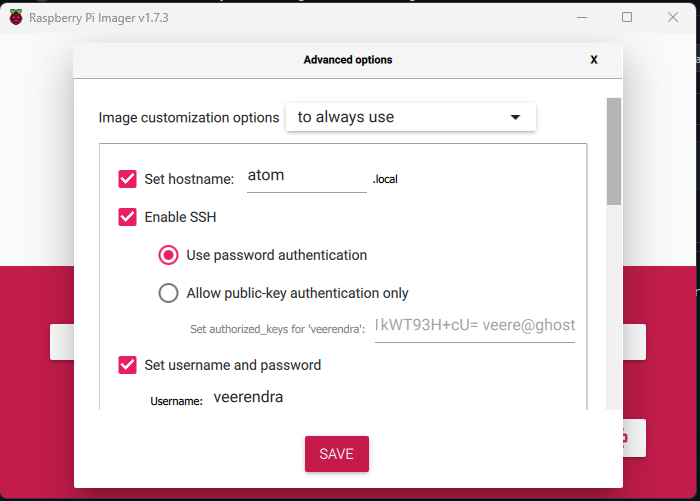
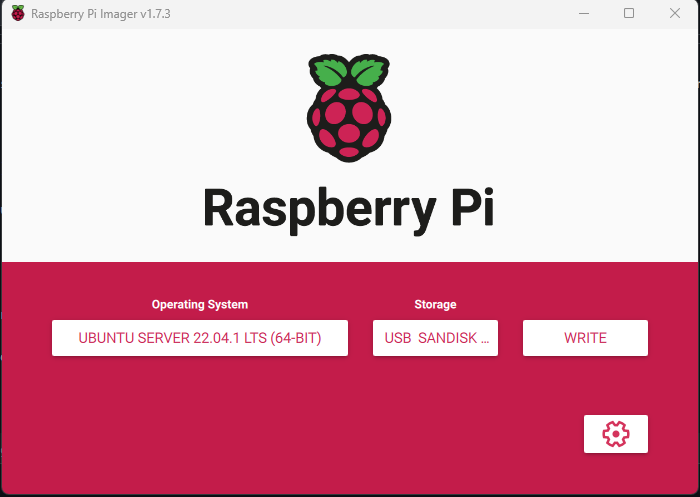
Write OS Image on SD card
Configure your machine
$ PIUSER="veerendra" $ PIIP="192.168.0.120" $ ssh-copy-id $PIUSER@$PIIP veerendra@192.168.0.120's password: Number of key(s) added: 1 Now try logging into the machine, with: "ssh 'veerendra@192.168.0.120'" and check to make sure that only the key(s) you wanted were added.cat >> ~/.ssh/config <<EOF Host atom HostName 192.168.0.120 user veerendra EOF
Configure your Pi
Last updated